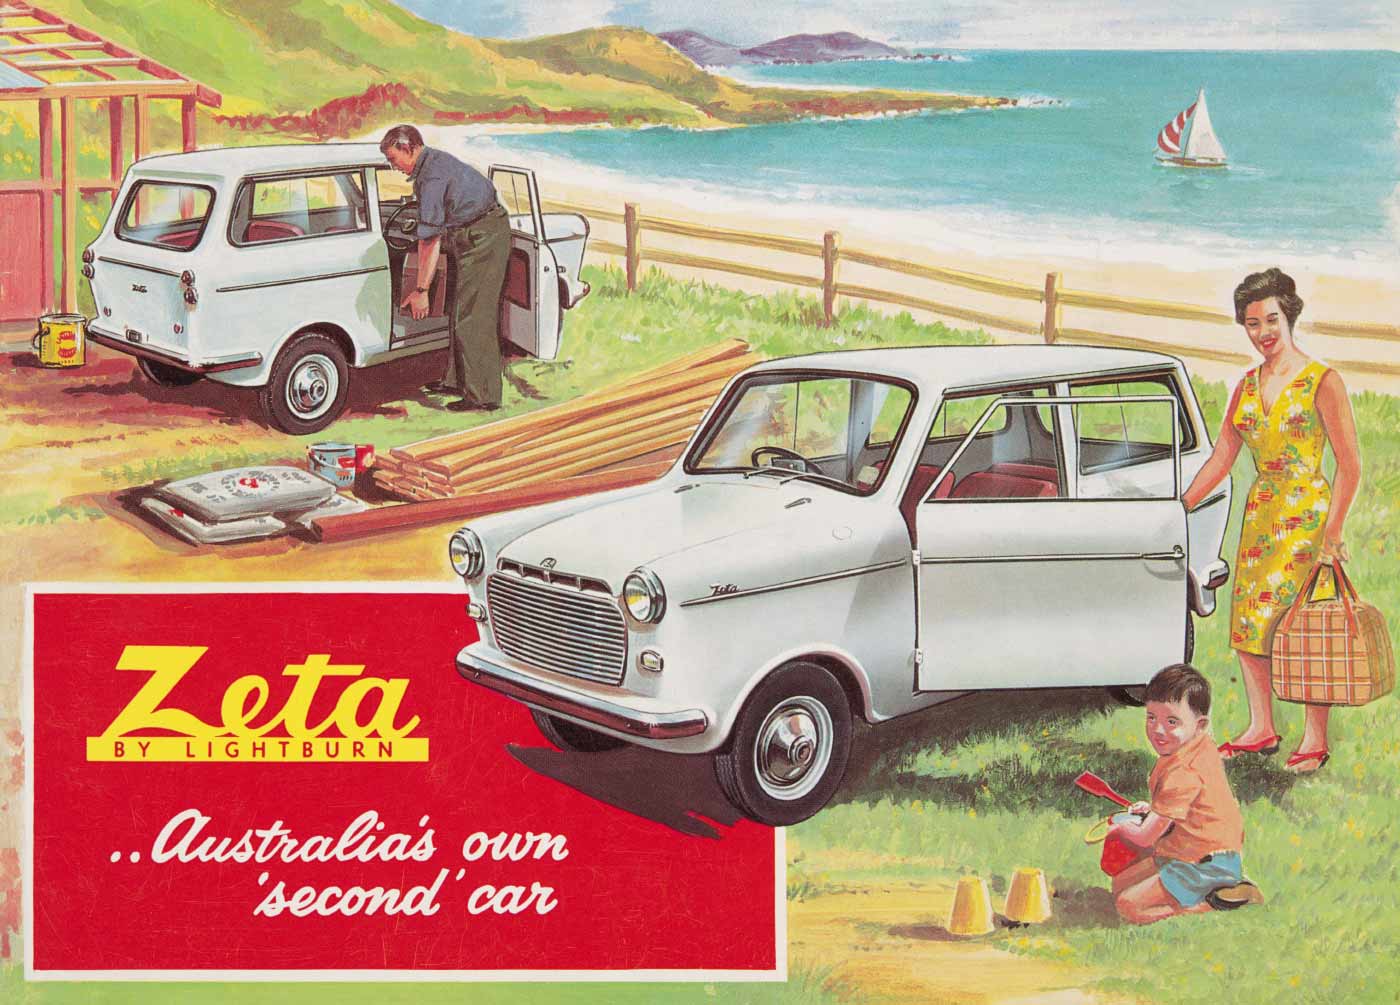
This activity is inspired by the National Museum of Australia’s large collection of cars. Cars like the 1963 Lightburn Zeta tell us stories about the people who drove them and the adventures they had. They also show us what life was like in the past.
Did you know ...
- The front seats of the Zeta could be taken out and attached to the roof. Imagine watching the football sitting on the roof of your car.
- It could go as fast backwards, as it could go forwards.
The 1963 Lightburn Zeta is one of our favourite cars from the Museum's collection. The Zeta was designed in Adelaide and was ‘an ideal family runabout’ second car. Only 400 were ever made.
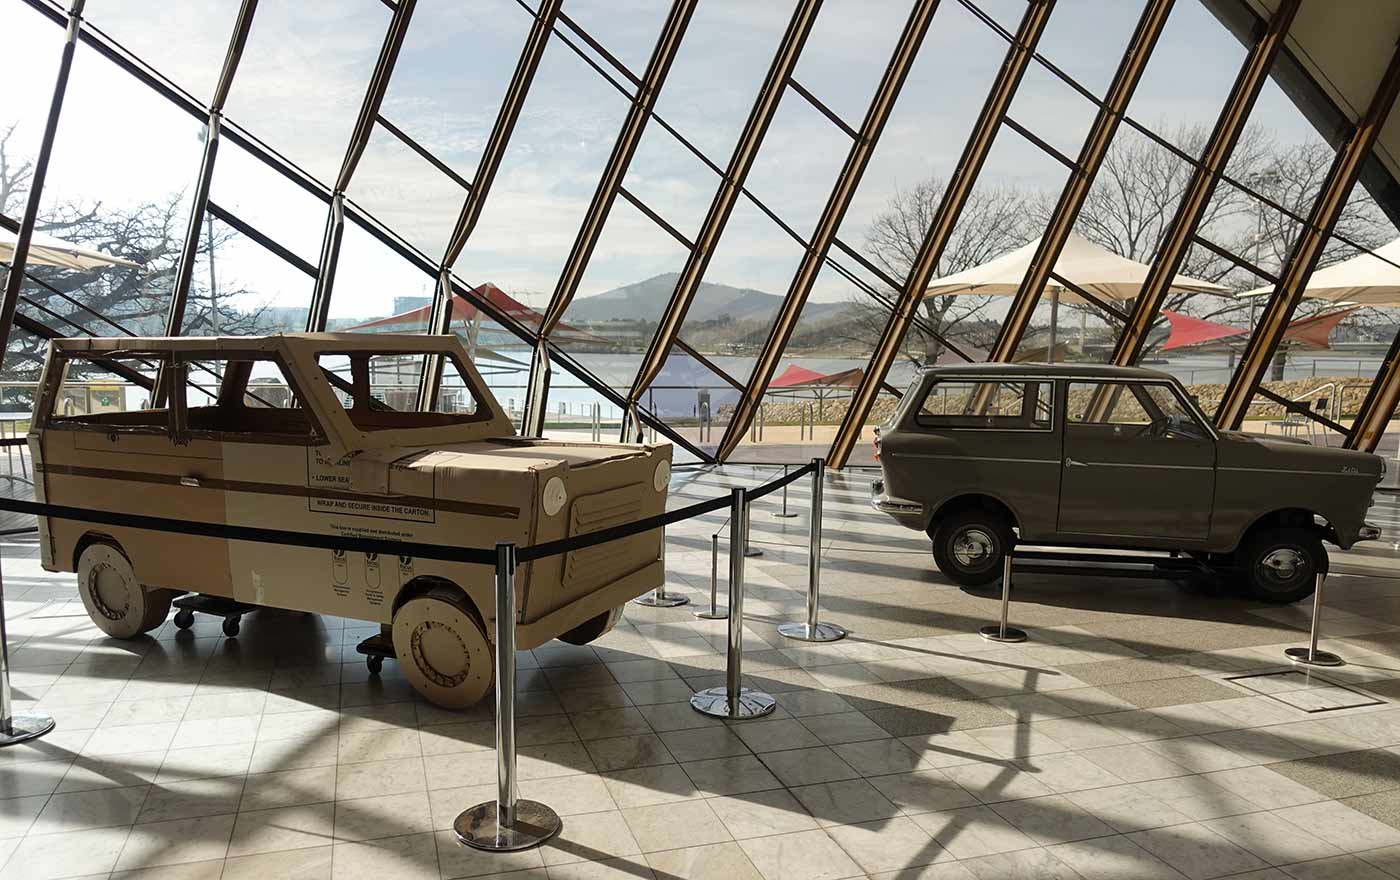
We asked Canberra artist Byrd to make us a cardboard version of the Zeta. It took Byrd four days and years of experience to make this model. Why don’t you make your own box car at home?
Learn more about the Zeta and other favourites, or look for inspiration in the Museum's car collection.
How to make your own box car
Skill level: ★ Easy – you may need an adult to help
Time: 30–60 minutes
Ages: 4 years and up
What you need:
- cardboard box (a big box for you to sit in or a smaller one for a toy)
- glue
- scissors
- split pins
- masking tape
- straws
- paper plates
- paper patty pans
- cardboard rolls
- coloured, patterned or textured paper and card
- textas
- decorative tape
- paint and paintbrush.
Remember: If using scissors, they are sharp. Ask an adult for help if needed.
Step 1
Decide what type of car will you make.
- What cars have you seen in your street or in a book?
- Is your car a fast car? Is it old or new?
- How is it powered? Petrol or electricity?
Step 2
Gather your materials and think about:
- The body of your car. What shape is it? What size box do you need?
- What it will look like – what colour is your car? Does it have any special features like a strip down the side?
- Details and add-ons – does your car have wheels, steering wheel, lights, seats?
Step 3
- If you are making a box to sit in, tape the bottom up using masking or packing tape.
Step 4
Use your imagination and add as much or as little as you like. Before painting our car we:
- added handles, by cutting two holes on either side of the box
- made a windscreen by cutting off the top three flaps and leaving one attached at the front of the car.
Step 5
Paint the outside of your car. The duco (the name given to the car's paint) can be all sorts of colours.
- Paint your box whatever colour or colours you would like.
- Remember to let the paint dry before you add any details.
Step 6
- Using a sharp pencil, mark where the wheels will be go.
- Poke a hole through the box and attach a paper plate with a split pin.
- If you don’t have a split pin, glue the wheels on.
Step 7
Add headlights by:
- gluing on patty pan lights.
- cutting out and gluing on coloured card.
- gluing on paper cups.
Step 8
- Add a grill on to the front of your car by gluing on corrugated card, cut to size.
Step 9
There are lots of ways to make a steering wheel. Glue a paper plate directly onto your box. Hold up anything round (a frisbee works) and don’t attach it, just use your imagination. You can also:
- Draw a steering wheel on a paper plate.
- Put a small hole through the centre of the plate.
- Poke a straw through the hole, so it sticks out about 1.5cm.
- Use masking tape to attach the straw to the front inside of the box.
Step 10
The possibilities for your car are endless.
- Ours is an old-fashioned car, so we added taped on mudguards above the wheels.
Step 11
Did you know in Canberra a lot of our cars have number plates starting with Y? What will you have as your number plate?
- Add a number plate by cutting out coloured paper into a rectangle and drawing on your number plate.
- Glue or tape the number plate to the back of the car.
- Make an exhaust pipe out of a small tube or rolled up card.
- Glue or tape the pipe to the bottom corner of the back of your box.
Step 12
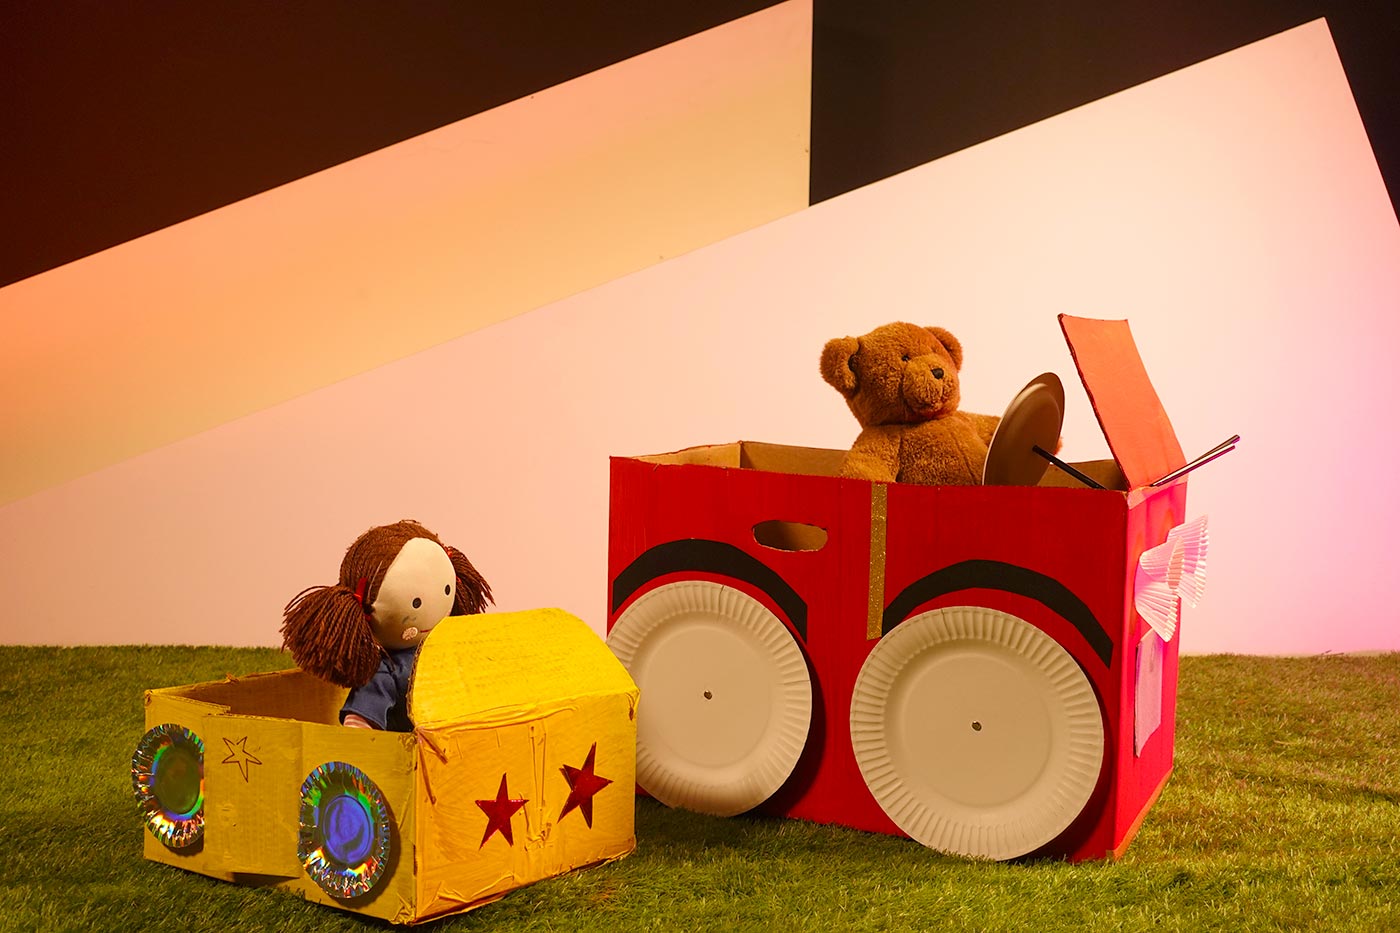
Keep adding details to your car, or keep it simple and start driving!
Here's some more ideas:
- Make windscreen wipers from straws.
- Add tape strips down the door or around the windows.
- Make door handles from corks or small lids.
- Draw or stick buttons on the dashboard?
- Remember you can draw on details too, the possibilities are endless.
Congratulations on finishing! Your car is ready to drive. Where will you go? Maybe you could take a picnic with you? Or make a few different cars to start a collection like the Museum.
Share your creation
We’d love to see your creation. Email a photo to: programs@nma.gov.au
Find more fun at home family activities and videos on YouTube
You may also like