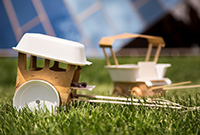
Make a toy horse-drawn cart or carriage, inspired by the horse-drawn carts and carriages in the exhibition Spirited: Australia’s Horse Story.
Carts in the Museum’s collection include (from left) a bakery delivery cart, the Ranken family’s coach and a milk delivery cart.
How to make a toy horse-drawn cart
Think about what life would be like without cars and imagine relying on horses for transport.
How would you attach a cart or carriage to a horse? Would you move people, bread, milk or something else on your cart? What materials can you use? How big will your cart be?
Skill level: ★★ Medium – you may need an adult to help
Time: 30 minutes
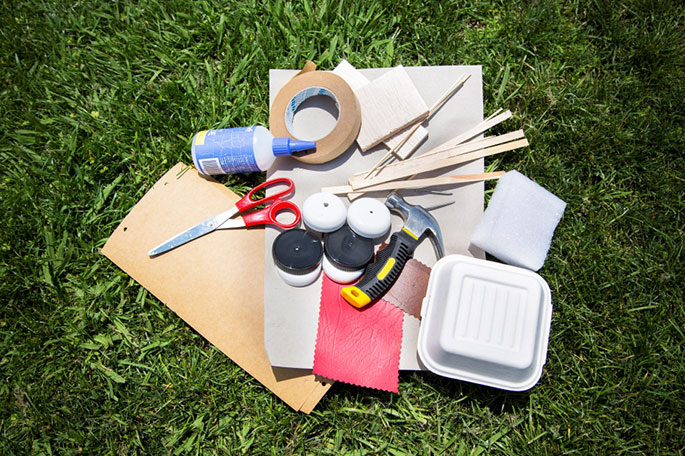
What you need:
- foam (we used some old packaging found in boxes that stored TV monitors)
- wood blocks, Paddle Pop sticks, skewers or dowel
- small plastic, foam or cardboard boxes or takeaway containers
- jar lids, corks, toilet paper rolls or wooden spools (these can make interesting wheels)
- cardboard or paper
- scissors (remember, these can be sharp, so ask an adult for help)
- hammer or drill (ask an adult for help if you are using tools as they can be dangerous)
- glue, nails, screws and string (experiment with what works to attach materials)
- decorative materials such as cardboard, fabric, vinyl, ribbon or string that you may have at home.
Tip: If you use materials from around the home, make sure you ask an adult first. You might need to get help from an adult with putting holes in lids to make wheels, hammering nails and cutting materials.
Steps 1–2
- Gather your materials.
- Cut the materials to size and use the tools to punch a hole in the centre of your wheels. This will make the wheels easier to attach to the body of the cart later.
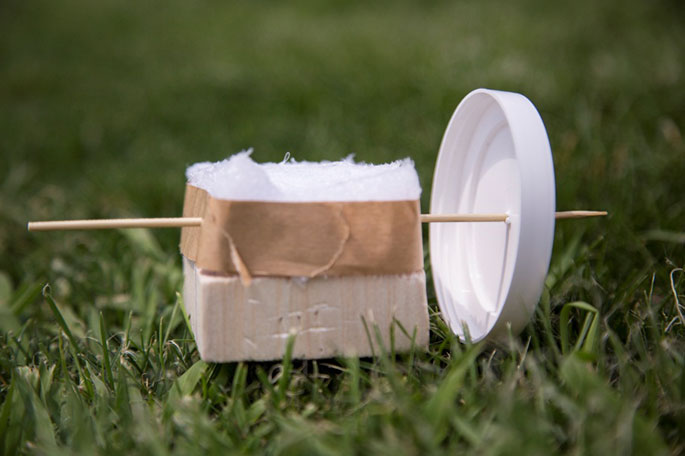
Steps 3–4
- Create a frame for the base of the cart using skewers, small sticks and/or foam. Use glue or string to bind the base together.
- Think about how you will attach the wheels. If you made your base from foam try pushing a skewer through the foam, then threading on the wheel. If your base is made of wood, you could ask an adult to help screw or glue the wheels onto it. Or you could draw on some wheels.
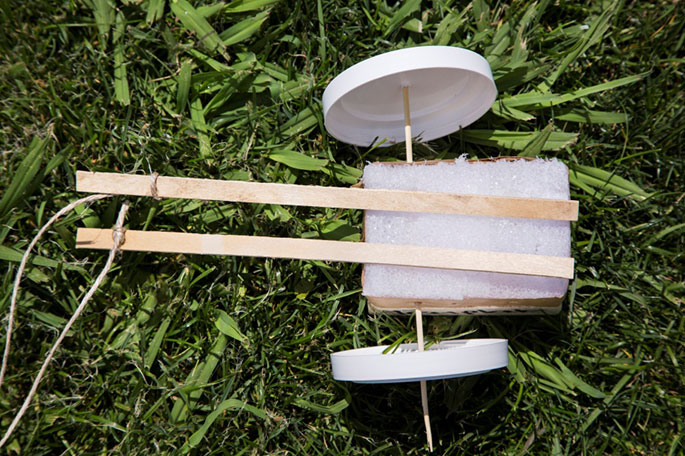
Step 5
- Use wooden sticks or cardboard to make two shafts for your cart. Glue them to the base of your cart.
- Tie some string on the end of the shafts to make a harness to attach to a toy horse.
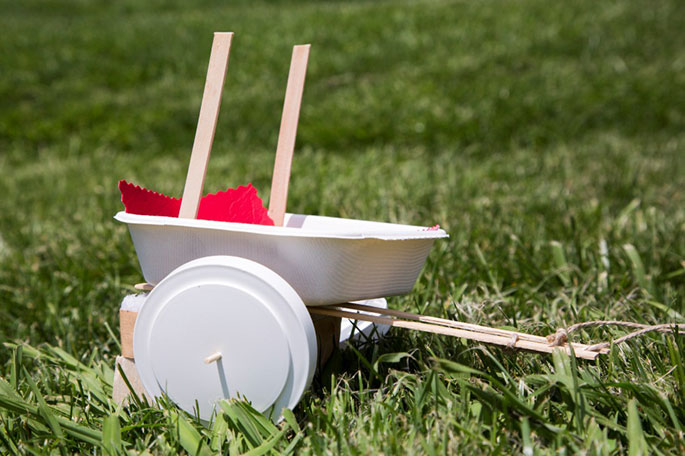
Steps 6–7
- Create the body of your cart using a small box or takeaway containers.
- You might also like to add a roof.
- Line your cart with vinyl, coloured paper or fabric for a smoother ride. You could also make your own horse toy using the instructions from our website.
Share your creation
Try making a few different types of cart and experiment with items they can hold.
We’d love to see your creation by emailing us a photo to: programs@nma.gov.au
You may also like