Create your own Roman soldier’s helmet inspired by the Rome: City and Empire exhibition.
Did you know ...
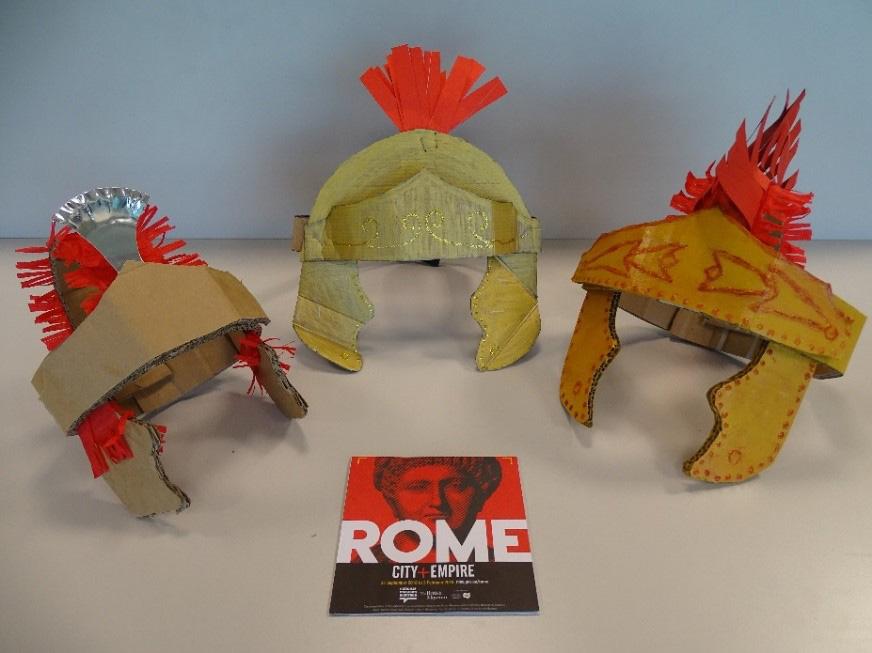
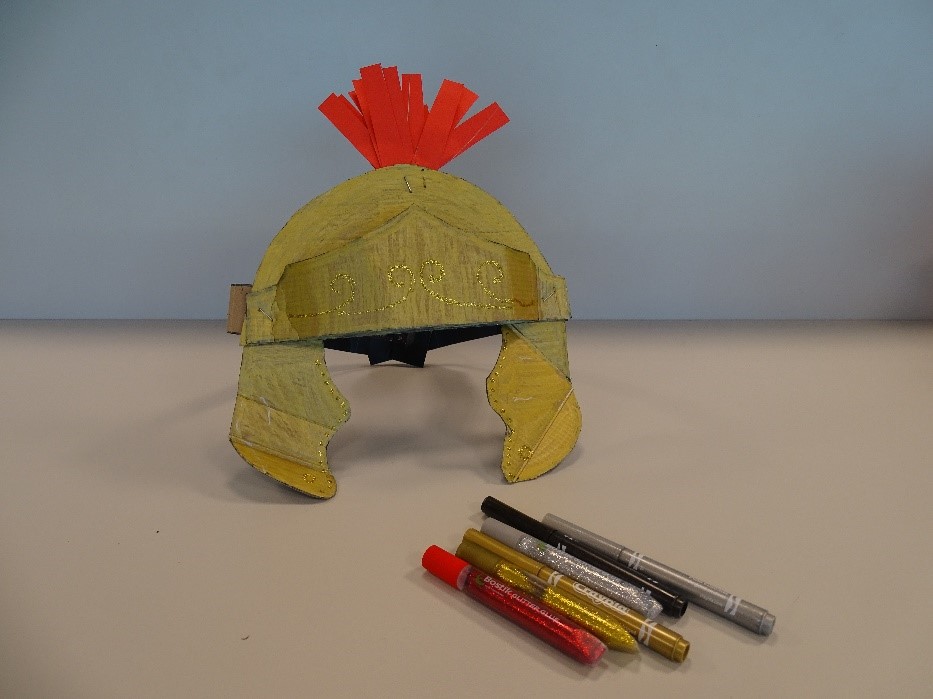
A typical Roman helmet was called a galea. Some galea were topped with a crest, which could be made of horsehair and was sometimes dyed red.
In the Roman army, you were given a rank, such as centurion, standard-bearer, legionary or cavalry trooper. To join you had to be at least 18 years old.
At its peak, the Roman army numbered almost 450,000 men. If you survived 25 years in the army, you would gain Roman citizenship, which came with lots of benefits.
The Romans ruled over parts of Europe, Africa and Asia for nearly 2000 years and created great cities and a vast empire.
How to make a Roman soldier’s helmet
Skill level: ★★★ Challenging – you may need an adult to help
Time: Less than 30 minutes
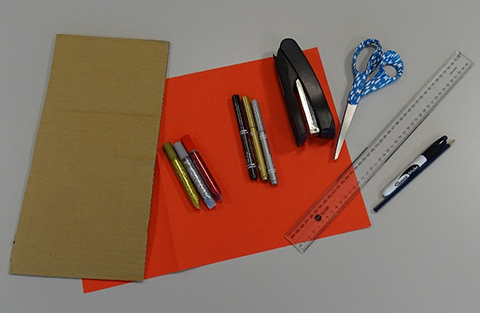
What you need:
- cardboard – a cereal box or something of similar weight from home works well
- pencil or pen
- ruler
- scissors
- stapler
- stickers, crayons or paint if you want to decorate your helmet.
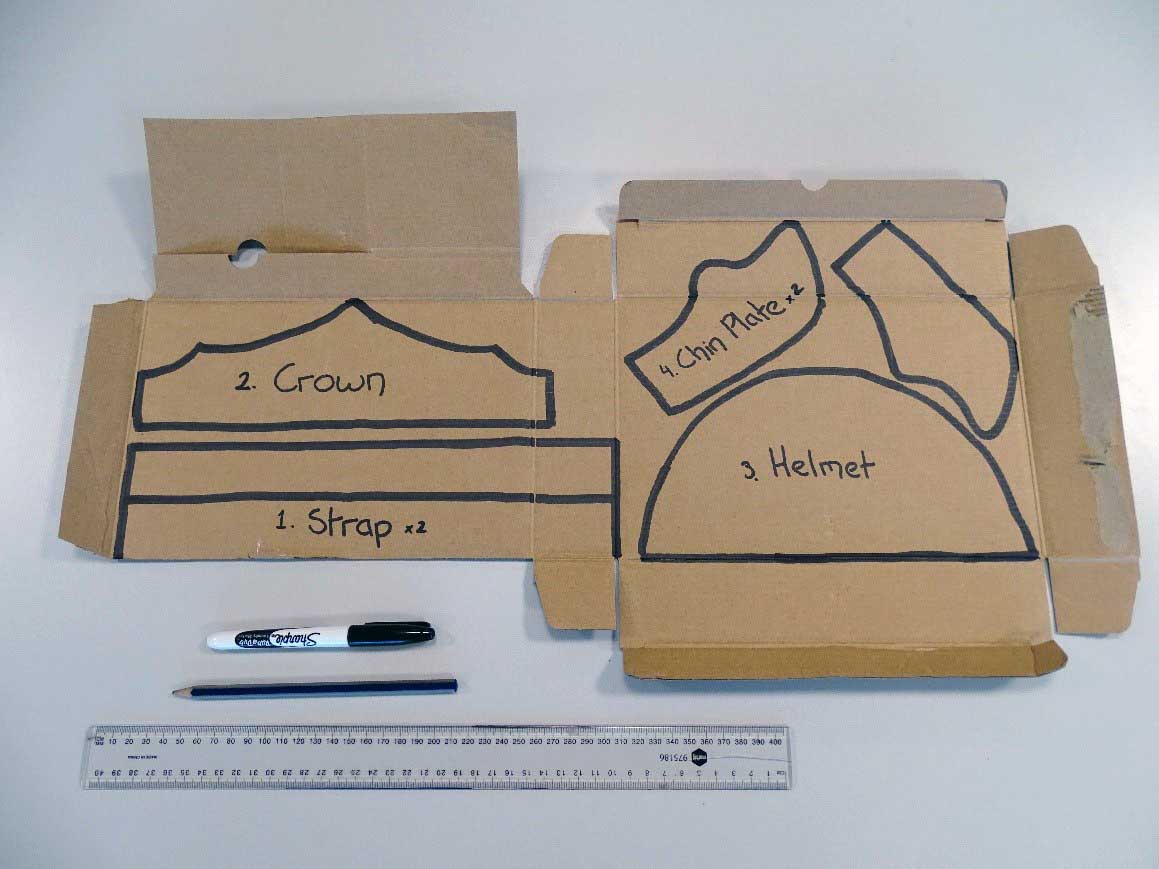
Tip: Before you assemble your helmet there are six parts you need to make: helmet, crown, head strap x 2, chin plate x 2. To make it easier you can print off the pattern provided, cut out the shapes and then use them to trace on to your cardboard.
Step 1
- Draw your shapes onto the cardboard.
- Head strap – draw two strips both 30 cm long and 5 cm wide.
- Helmet – draw a dome shape like a half circle. Ours is 24 cm wide and 12 cm high. Make sure it is big enough to fit around the front of your head.
- Crown – draw the shape of a crown. Ours is 26 cm wide and 8 cm high. This can be as high as you like, but make sure it is 2 cm wider than the helmet shape.
- Chin plates – draw the chin plates. They should be flat on the top and curved down the bottom with two bumps. Make sure they are not too big, otherwise you won’t be able to see!
Step 2
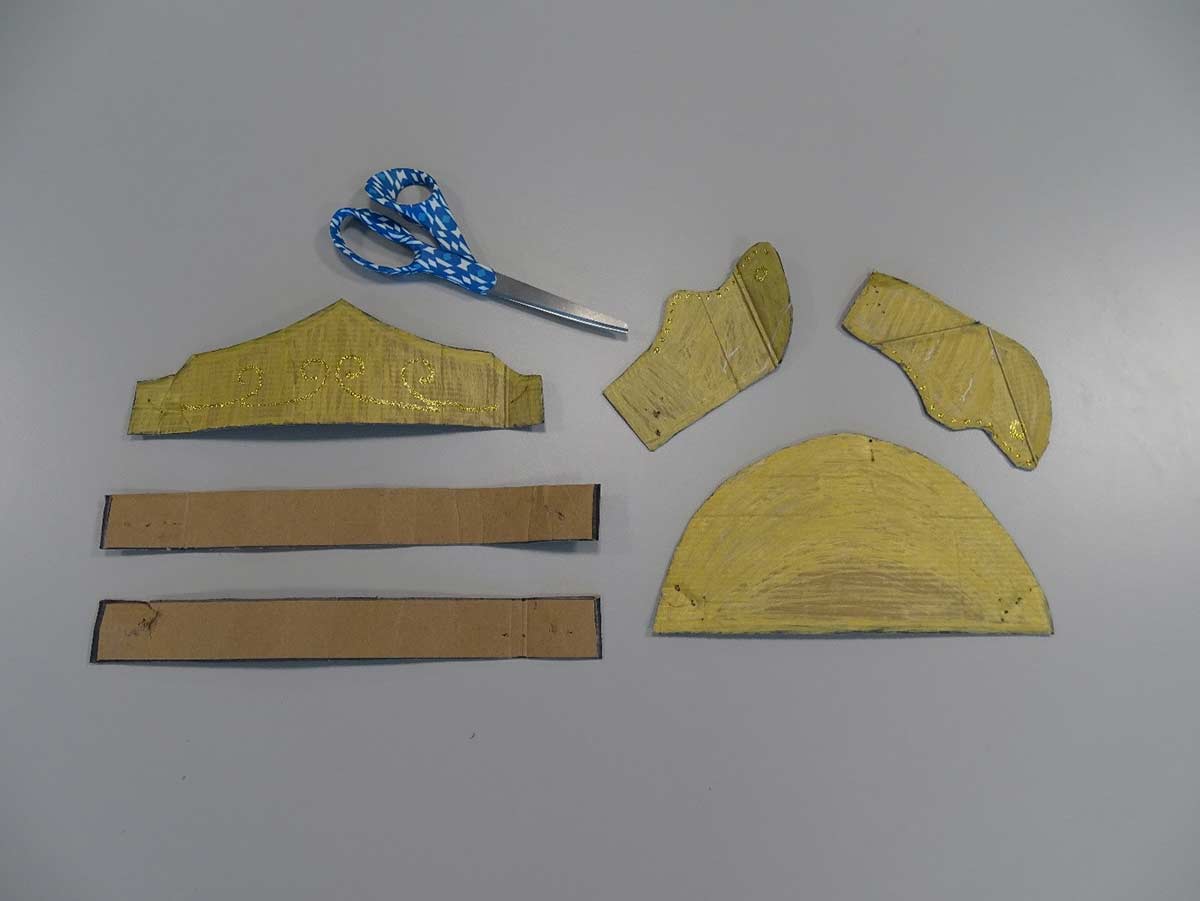
- Ask an adult to supervise you while you cut out all of the shapes you have drawn. You should have six parts in total.
Step 3
- If you were planning to decorate your helmet, now is the time to do it. Research online to see what the helmets looked like. Is yours going to be a traditional gold and red? Or is it going to be a rainbow? Use crayons or paint and be as creative as you want.
Step 4
- Assemble your helmet. These pictures will help you visualise how the different parts go together. Ask an adult to supervise while you use a stapler.
- Use a stapler to attach the chin plates to the helmet, the straps to the sides of the helmet and the crown to the bottom of the helmet. This will cause the crown to bend, making it pop out.
Step 5
- If you want, you can now do some more decoration on your helmet. Use coloured paper to create a crest. You could also add some rivets where the chin plates attach to the helmet!
- Lastly, ask an adult to supervise you while you staple the bands together to fit around your head.
Share your creation
We’d love to see your creation by emailing us a photo to: programs@nma.gov.au
You may also like