Design and create your own Islamic geometric pattern, inspired by the exhibition ‘So That You Might Know Each Other’: Faith and Culture in Islam.
Did you know ...
Islamic art is complex and is created for religious or non-religious purposes. It is found across the world from the Middle East, North Africa and Europe to Asia and Australia.
Islamic geometric patterns are a form of decoration made of basic shapes that are repeated again and again in simple or complex arrangements.
By changing a simple pattern, you can create an infinite number of designs. The patterns reflect unity, logic and order and are used to decorate everything from tables, clothes and carpets to buildings like mosques.
How to make a six-pointed geometric star
Skill level: ★★★ Challenging – you may need an adult to help
Time: About 10 minutes for the first star
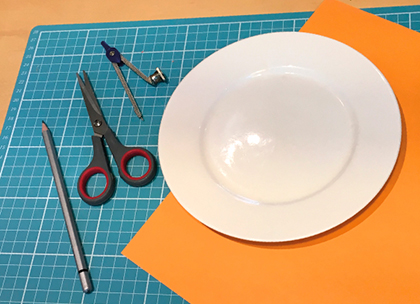
What you need:
- paper – plain, patterned, coloured, newspaper or whatever you have on hand
- pencil
- scissors
- compass or something round to trace, like a plate.
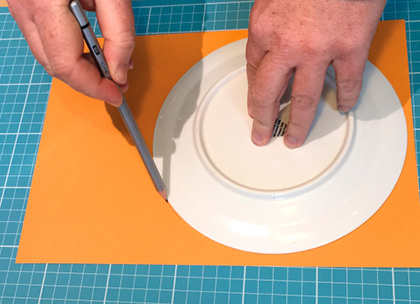
Steps 1–2
- Gather your materials.
- Start by drawing a circle. Trace around your circular object or draw a circle using a compass.
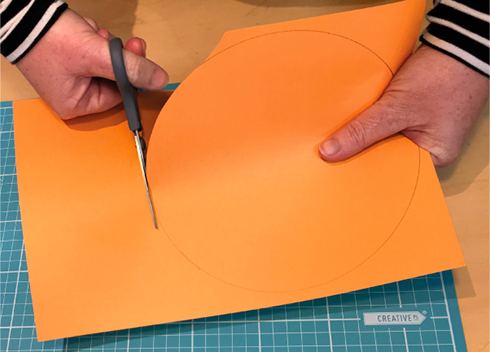
Step 3
- Cut out your circle with scissors and fold it exactly in half, creasing along the fold.
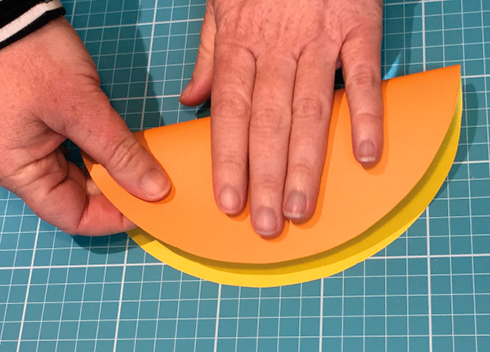
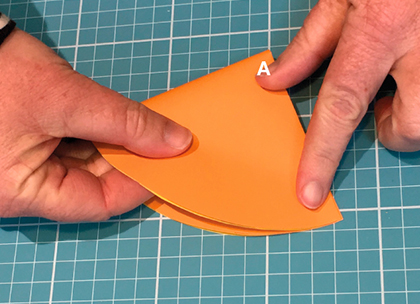
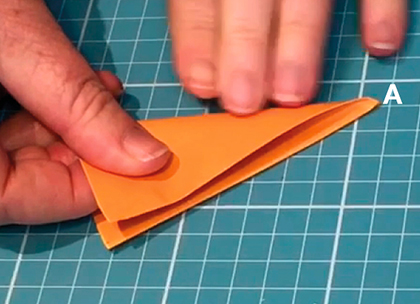
Step 4
- Fold your semi-circle in half to make a wedge shape. Crease along the fold. Note the right-angled corner (A). Fold the right-angled corner (A) up to meet the curved edge, while keeping a sharp point at (B). Crease.

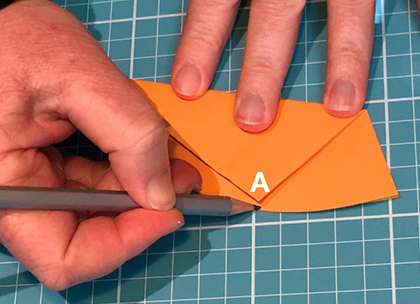
Step 5
- On the curved edge, mark the point where the (A) meets the curved edge. You will use this mark as a guide for the next fold. Unfold, back to the original wedge shape.
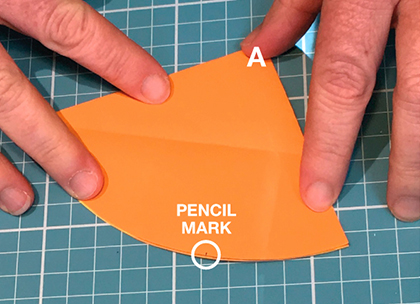
Step 6
- Keeping a sharp point at (A), your pencil mark as a guide and fold over one-third of the wedge shape so that the top curved edges meet. Your piece should look like this (below right).

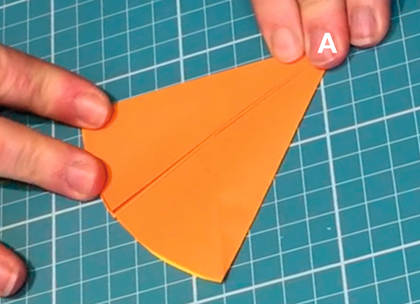
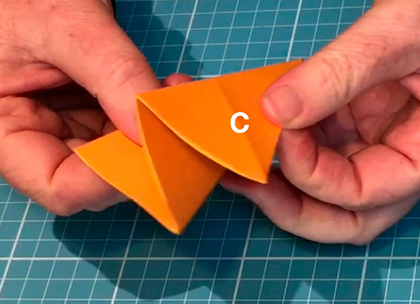
Step 7
- Flip your piece over. Repeat the last fold so your wedge is now folded into equal thirds. The folds should look like a zigzag from the top. Note the visible crease line (C) that you made in step 6.
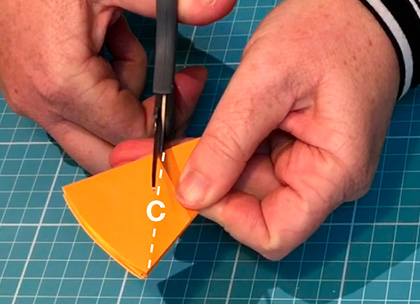
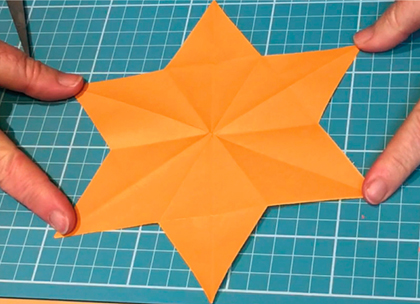
Step 8
- Cut along the creased line (C), cutting through all layers. Unfold to reveal your finished six-pointed star!
Share your creation
We’d love to see your creation by emailing us a photo to: programs@nma.gov.au