Make your own zoetrope inspired by DreamWorks Animation: The Exhibition – Journey from Sketch to Screen.
Did you know ...
A zoetrope is a device that gives the illusion of a moving image. The earliest zoetropes are from the 1860s.
The Museum's collection includes a model praxinoscope and a chromatrope, which used a series of slides. Modern ones can include the use of 3D technology.
How to make your own zoetrope
Skill level: ★★★ Challenging – you may need an adult to help
Time: 40–60 minutes
What you need:
- paper
- cartridge paper (this stronger paper card can be bought at local art stores)
- scissors
- glue
- tape
- pencils and textas
- pebble, marble or string (something for your zoetrope to pivot on)
- print outs of the zoetrope and animated strips templates.
Parts of a zoetrope:
- Wall – the outside part of your zoetrope. When you spin the zoetrope and look through the gaps you will see your animation.
- Base – the circular bottom part that attaches to the wall
- Animation strips – two strips of paper (21 cm wide x 4 cm high) that fit inside the wall. This is where you make your frame-by-frame drawing.
- Pivot point – the centre point from where the zoetrope will spin.
- Download Template159.3 kb pdf [ PDF | 159.3 kb ]
- Download Animation strip444.4 kb pdf [ PDF | 444.4 kb ]
Step 1

- Gather your materials.
- Download the zoetrope and animation strip templates and print them out.
Step 2
- Glue the template onto the cartridge paper.
Step 3
- Once the glue is dry, cut out the template using scissors. Remember: scissors are sharp! Please ask an adult for help. Don’t forget to cut out all the narrow viewing slits.
Step 4
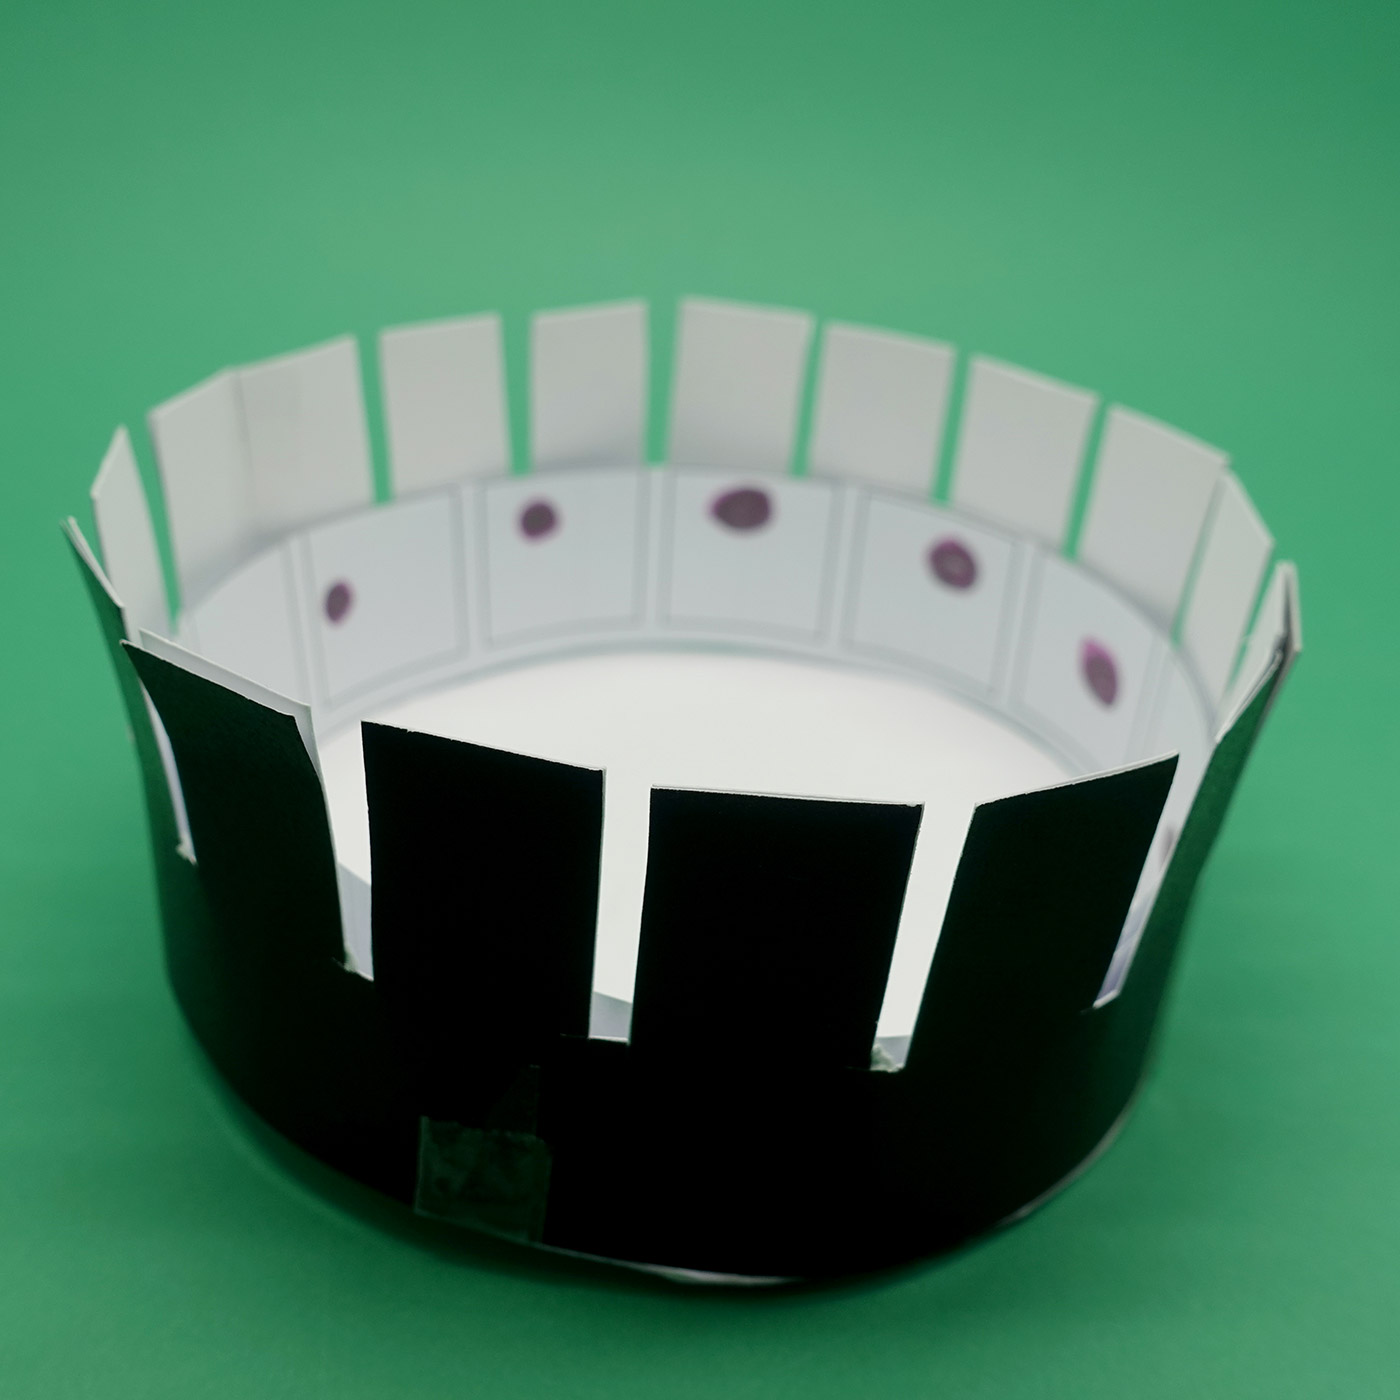
- Tape the wall ends together to form a circle. Keep the black side facing outwards.
Steps 5–6
- Tape the walls to the base, making sure the slits are at the top.
- Turn your zoetrope over. Tape a small, smooth pebble or marble to the centre of the circular base, to provide a pivot point for the zoetrope to spin on.
- Turn the zoetrope back over, so the slits are at the top.
Steps 7–8
- Cut out the animated strips from the template.
- Practice drawing your animation in pencil on scrap paper.
- When ready, draw the stages onto the animation strip, in sequence.
- Place the animation strip into the zoetrope against the wall, below the slits.
Step 9
- Look through the slits from the outside while you spin the zoetrope. Does your animation come to life?
- Test out different designs and animations.
We used a simple series of dots. This video shows how they appear when we spun our zoetrope on a small marble.
Share your creation
We’d love to see your creation by emailing us a photo to: programs@nma.gov.au