Create a collection of rock stories and a basket inspired by the Warakurna: All the Stories Got into our Minds and Eyes exhibition on show at the National Museum of Australia in 2013.
Did you know ...
Warakurna featured stories of amazing and everyday events in the lives of a group of Western Desert artists, as revealed through the symbols in their artworks.
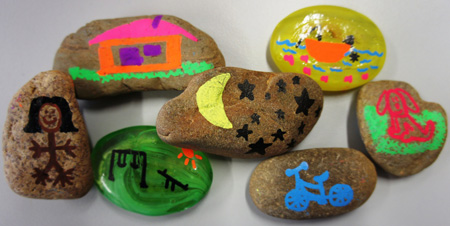
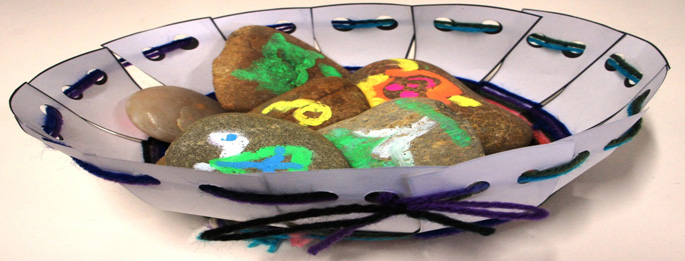
You can tell a story by drawing symbols on rocks and then arranging them to tell a story, like a picture book. It’s fun to mix up the rocks and make up another story. In this activity, we also make a bowl to hold the rocks, inspired by the raffia works and baskets in the Warakurna exhibition.
How to make your own rock stories
Skill level: ★★ Medium – you may need an adult to help
Time: 30–60 minutes
Ages: 4 years and up
What you need:
For the rock stories:
- about six rocks, though you can use less or more. The rocks should be relatively smooth and about five centimetres long. Please make sure you collect the rocks from around your place and not from a protected area
- chalk pens, textas or paint.
For the basket:
- A4 cardboard that can go through a printer, or plain white paper, for the basket template
- printer
- scissors
- wool, string or raffia
- textas or crayons to decorate
- hole puncher (single punch is best if you have one).
- Download Rock stories basket template157.8 kb pdf [ PDF | 157.8 kb ]
Questions to start you thinking:
- What happens in your day-to-day life?
- Do you keep a diary of events that have happened to you?
- Have you ever written a book with just pictures?
Steps: Rock stories
1. Wash and dry the rocks.
2. Think about a story that you would like to illustrate and how you would tell this story with a few hand-drawn symbols. You might like to practise your drawings on paper first.
3. On each rock, draw your symbols using the chalk pens, textas or paints, and then arrange them together to tell your story.
4. If you mix them up can you make up another story. Try your rocks with someone else to see if they can make up a story.
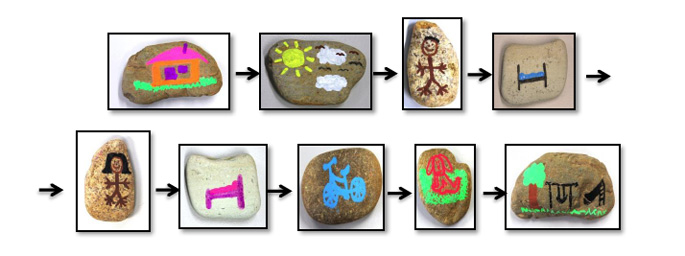
Example: You could draw a house, clouds and a sun, a boy, a bed, a girl, a bicycle, a dog and a park.
Story: A brother and sister wake up on a bright and sunny day. They decided to ride their bicycle and walk their dog to the park and play on the swing set and slide.
Steps: Basket
1. Once you have finished drawing on your rocks, ask an adult to help you print the Rock stories basket template on to an A4 piece of paper or cardboard.
2. Cut out the basket template along the black lines. You might like to ask an adult to help you if you find this tricky. Remember: be careful with scissors, they can be sharp!
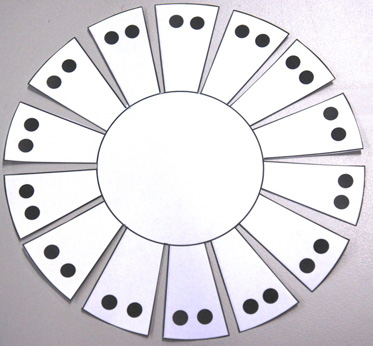
This is how the template should look once you have finished cutting.
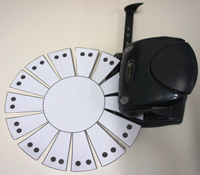
3. Use the hole-punch to punch holes where the black dots are printed. An adult might be able to help if you find this tricky.
4. Fold each section of the basket template in towards the centre.
5. Once you have finished punching the holes around the outside of the basket, decorate it with the wool, string or raffia and textas or crayons.
6. Weave the wool and string in and out around the base. You can repeat many layers to decorate it a little or a lot.
7. Continue colouring and weaving until you feel your basket is finished and ready for your rock stories.
Share your creation
We’d love to see your creation. Email a photo to: programs@nma.gov.au