Draw your own Australian inspired design on a plate. This activity is inspired by The Trevor Kennedy Collection: Highlights exhibition
Did you know ...
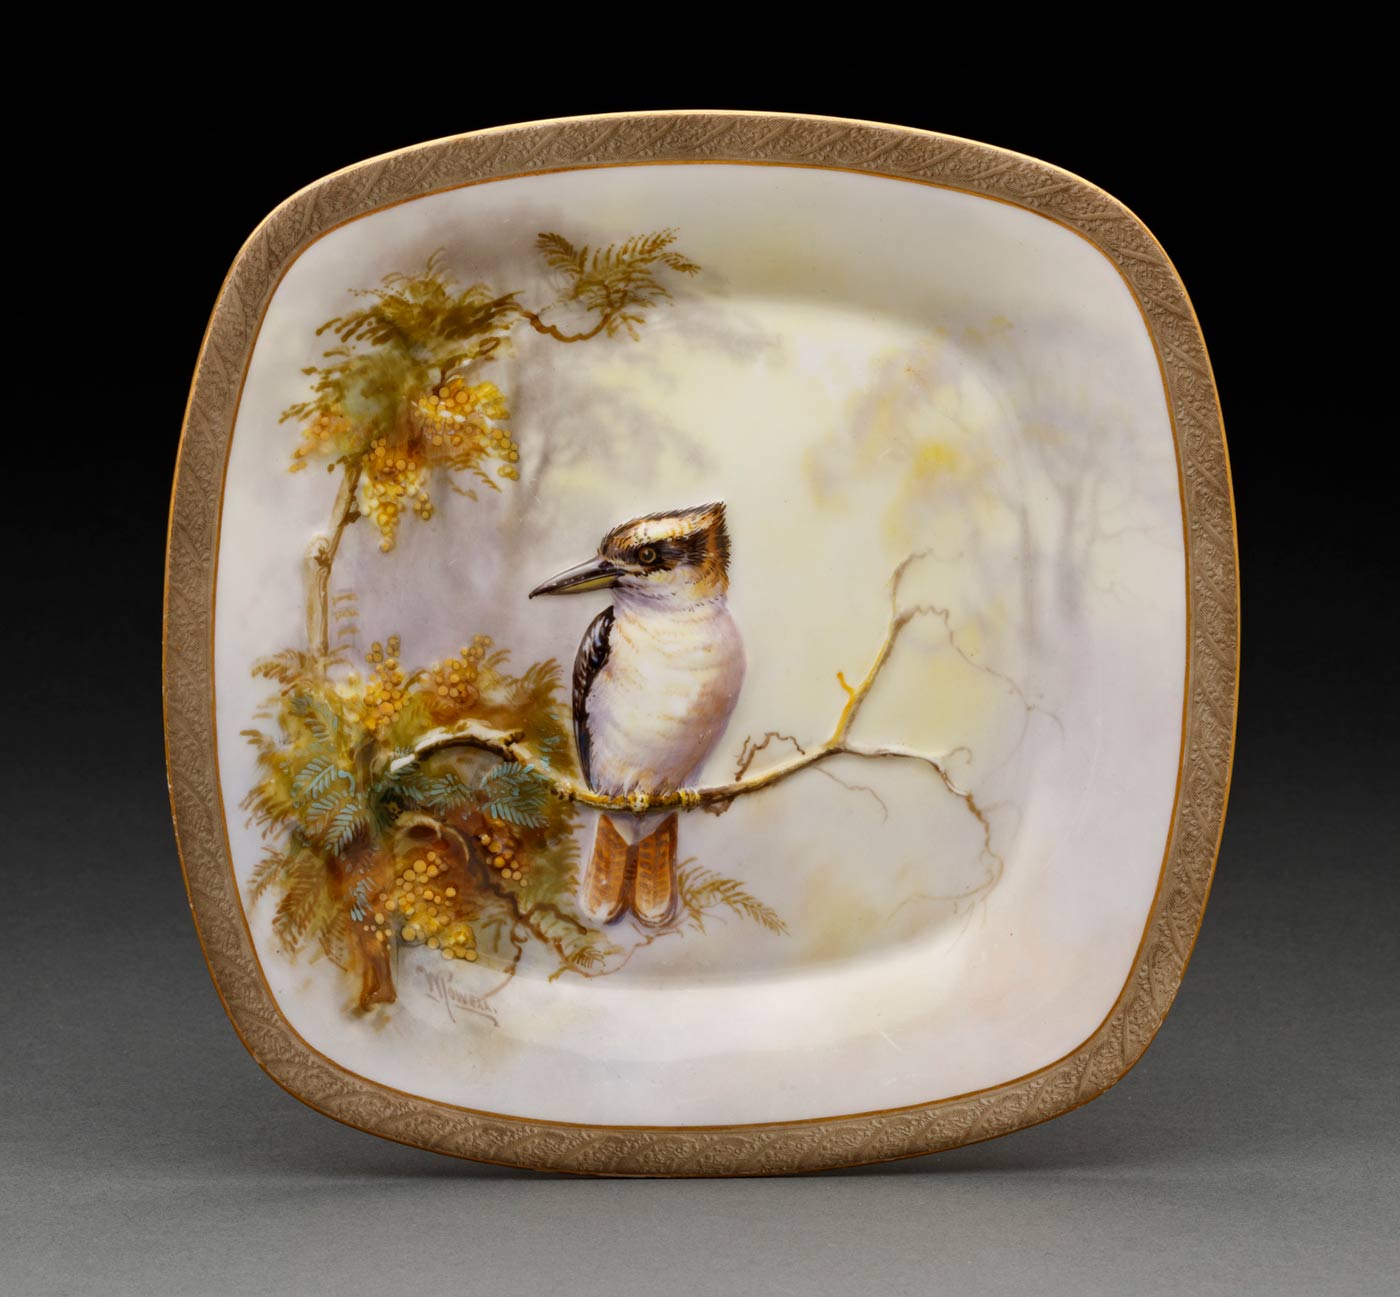
The Museum has a very large collection of 4,000 objects collected by one person, Trevor Kennedy. Over 500 of the amazing objects were displayed in The Trevor Kennedy Collection: Highlights exhibition. In the exhibition there are lots of Australian-themed plates, cups and a large collection of salt and pepper shakers.
Have you ever thought about who decorates the plates and cups you drink out of?
Australian motifs (images) were produced by Royal Worcester and the Favelle brothers between 1912–1928. Famous artists, such as Ellis Rowan, created beautiful designs of Australian plants and animals to then be transferred onto plates and cups.
Imagine if you had to design some Australian inspired or themed plate. Would you draw a map, your favourite native animal or plant, a drawing of an event?
Grab a few materials from the local art supply and at home. You can decorate your own Australian themed and inspired plate.
What will inspire you?
How to make your own Australian themed and inspired plate
Skill level: ★★ Moderate – you may need an adult to help
Time: 40–60 minutes
Ages: 3 years and up
What you need:
- plain white ceramic plate – look at your local art shop, discount shops or any shop that sells dinnerware
- porcelain pens – find these at art supply stores – the ones we used were nontoxic and suitable for 3+ years
- paper
- lead pencil
- oven to fix the colours on the plate.
Themes that you can find on ceramic plates, bowls, cups and vases in the Kennedy exhibition:
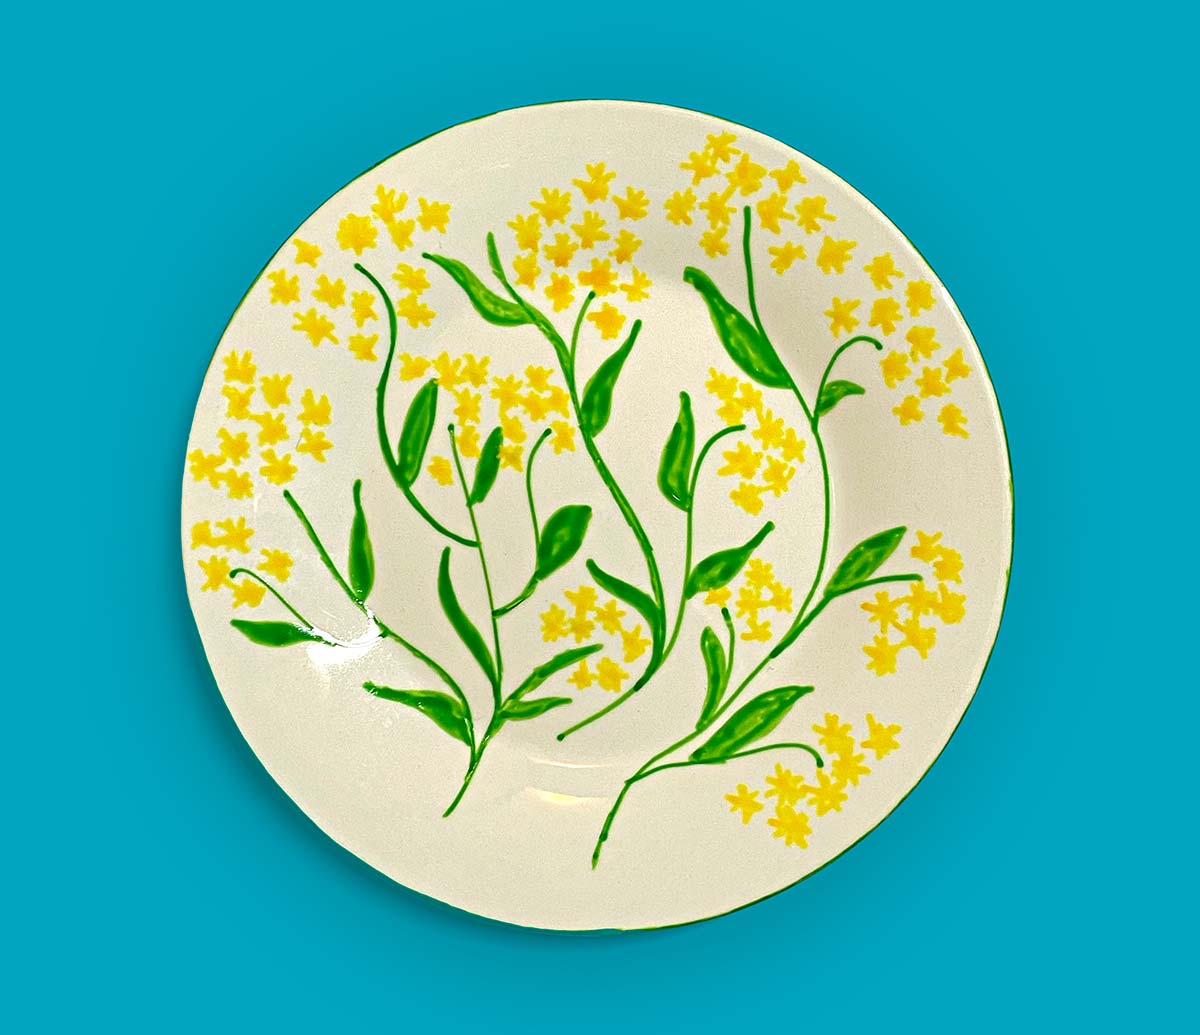
- native plant – waratah, flannel flowers, gum nuts, wattle
- birds – kookaburra, fairy wrens, parrots
- events – Royal Doulton produced teapots and cups to commemorate Australia’s federation in 1900
- sport – a plate the celebrates the Ashes (cricket) win in.
Look around your world for inspiration:
What is important to you? What inspires you? What do you want to remember?
Step 1
Gather your materials.
Step 2
Draw a circle. This circle is where you test your ideas.
- Turn your plate upside down onto a blank sheet of paper.
- With a pencil draw around your plate.
Step 3
Test your design on paper first.
- Draw your Australian inspired image on the test paper.
- Think about:
- Where will you place the image. Is it just in the middle – does the drawing go to one side?
- Do you want to decorate a border?
- If you add writing think about how this looks in relationship to the image.
- You can plan your colours.
Tip: Keep the design simple and remember to look at the colours of the pens. Unlike paint you can easily blend colours.
Step 4
Transfer the image onto the plate.
Now that you know what you want to draw it's time to transfer this image onto the plate. There are several ways to do this:
Technique 1:
- draw directly onto the plate with pencil (or if you are confident with the pens).
Technique 2:
- turn your paper over to the other side and rub a soft lead pencil over your design
- place this onto the plate (image up) and re-trace over the image with a hard pencil. This will softly transfer your drawn image onto the plate.
Step 5
Colour time.
- Once you are happy with the pencil outline on the plate, use the porcelain pens and colour in your drawing
- Remember if you make a mistake use a tissue or a cotton bud to wipe it off (this needs to be done while paint is still wet).
Step 6
Adults, please help your amazing artists with this step.
- Leave your plate to dry for 24 hours.
- Once dry, put your plate into a cold oven. This is important as a hot oven may crack the plate. The plate needs to warm at the same time as the oven.
- Turn the oven on. Once oven reaches 160 degrees, bake for 90 minutes.
- Allow to cool.
Note: Once finished, plates can be used with food, but knives and folks will scratch the image off over time. To keep plates looking beautiful use them as decorative items. They do look lovely hanging on a wall.
Other plate options
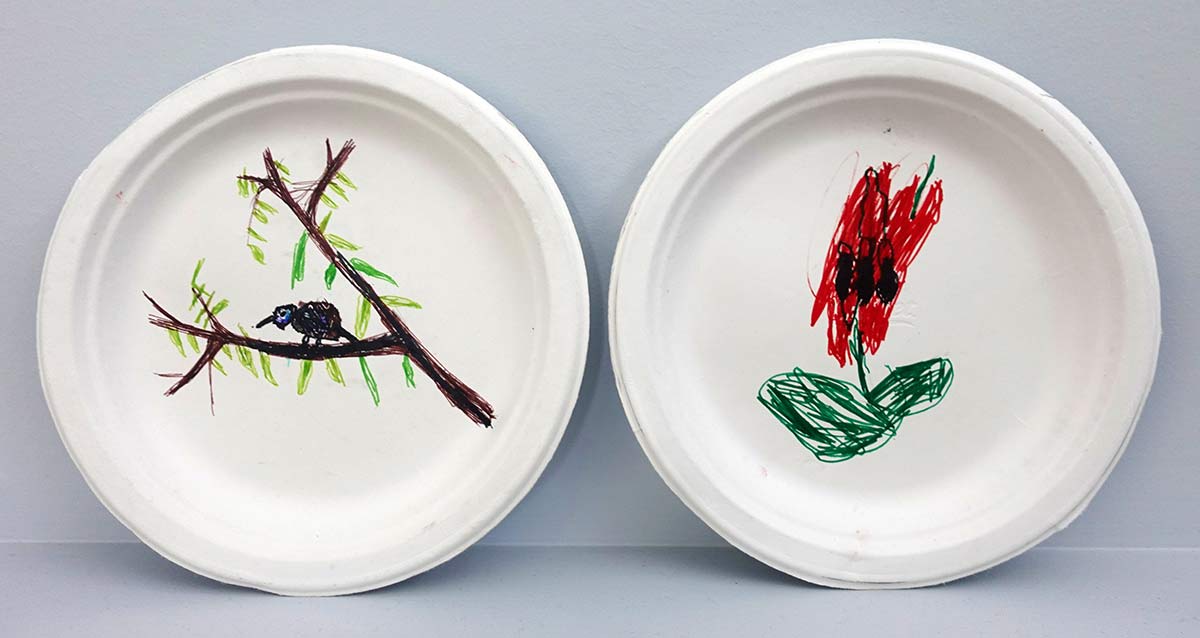
Did you know if you don’t have access to porcelain pens and a ceramic plate, you can do this activity with textas and paper plates? Follow all the steps except steps 5 and 6.
Below are other examples of plates.
Share your creation
We’d love to see your creation. Email a photo to: programs@nma.gov.au
Find more fun at home family activities and videos on YouTube
You may also like