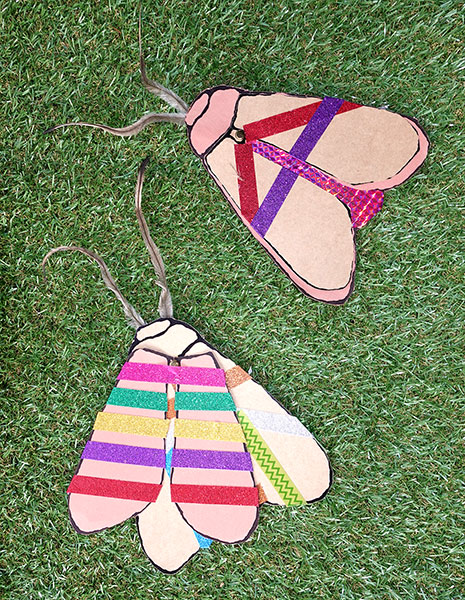
Create your own bogong moth inspired by the Reko Rennie artwork in our Gandel Atrium.
Did you know ...
For thousands of years Aboriginal communities have celebrated the arrival of bogong moths. The moths migrate to alpine areas from Queensland, New South Wales and Victoria.
Aboriginal people collected bogong moths and roasted them on fires. The moths are an important food source for birds, bats, reptiles, marsupial rats and mountain pygmy possums.
The land on which the National Museum sits is an important ceremonial site for the local Ngambri, Ngunnawal and Ngunawal peoples. It is part of bogong moth songline stories such as the Myee and the Bogong Moth Man.
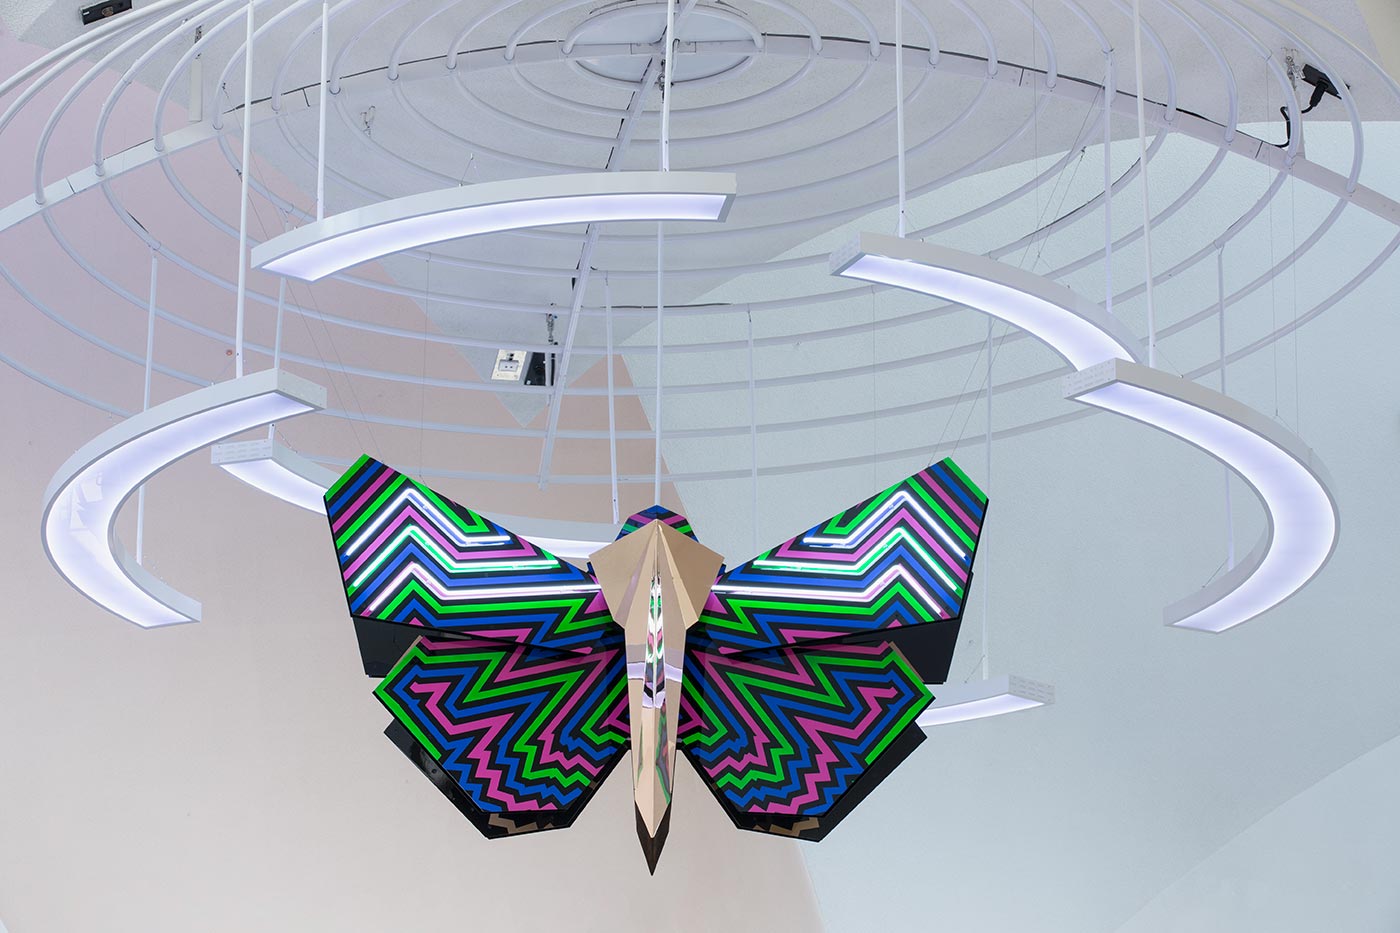
The moth features in a beautiful artwork by Kamilaroi artist Reko Rennie, in the Museum's Gandel Atrium.
How to make your own bogong moth
Skill level: ★ Easy — you may need an adult to help
Time: 40–60 minutes
Ages: 5 years and up
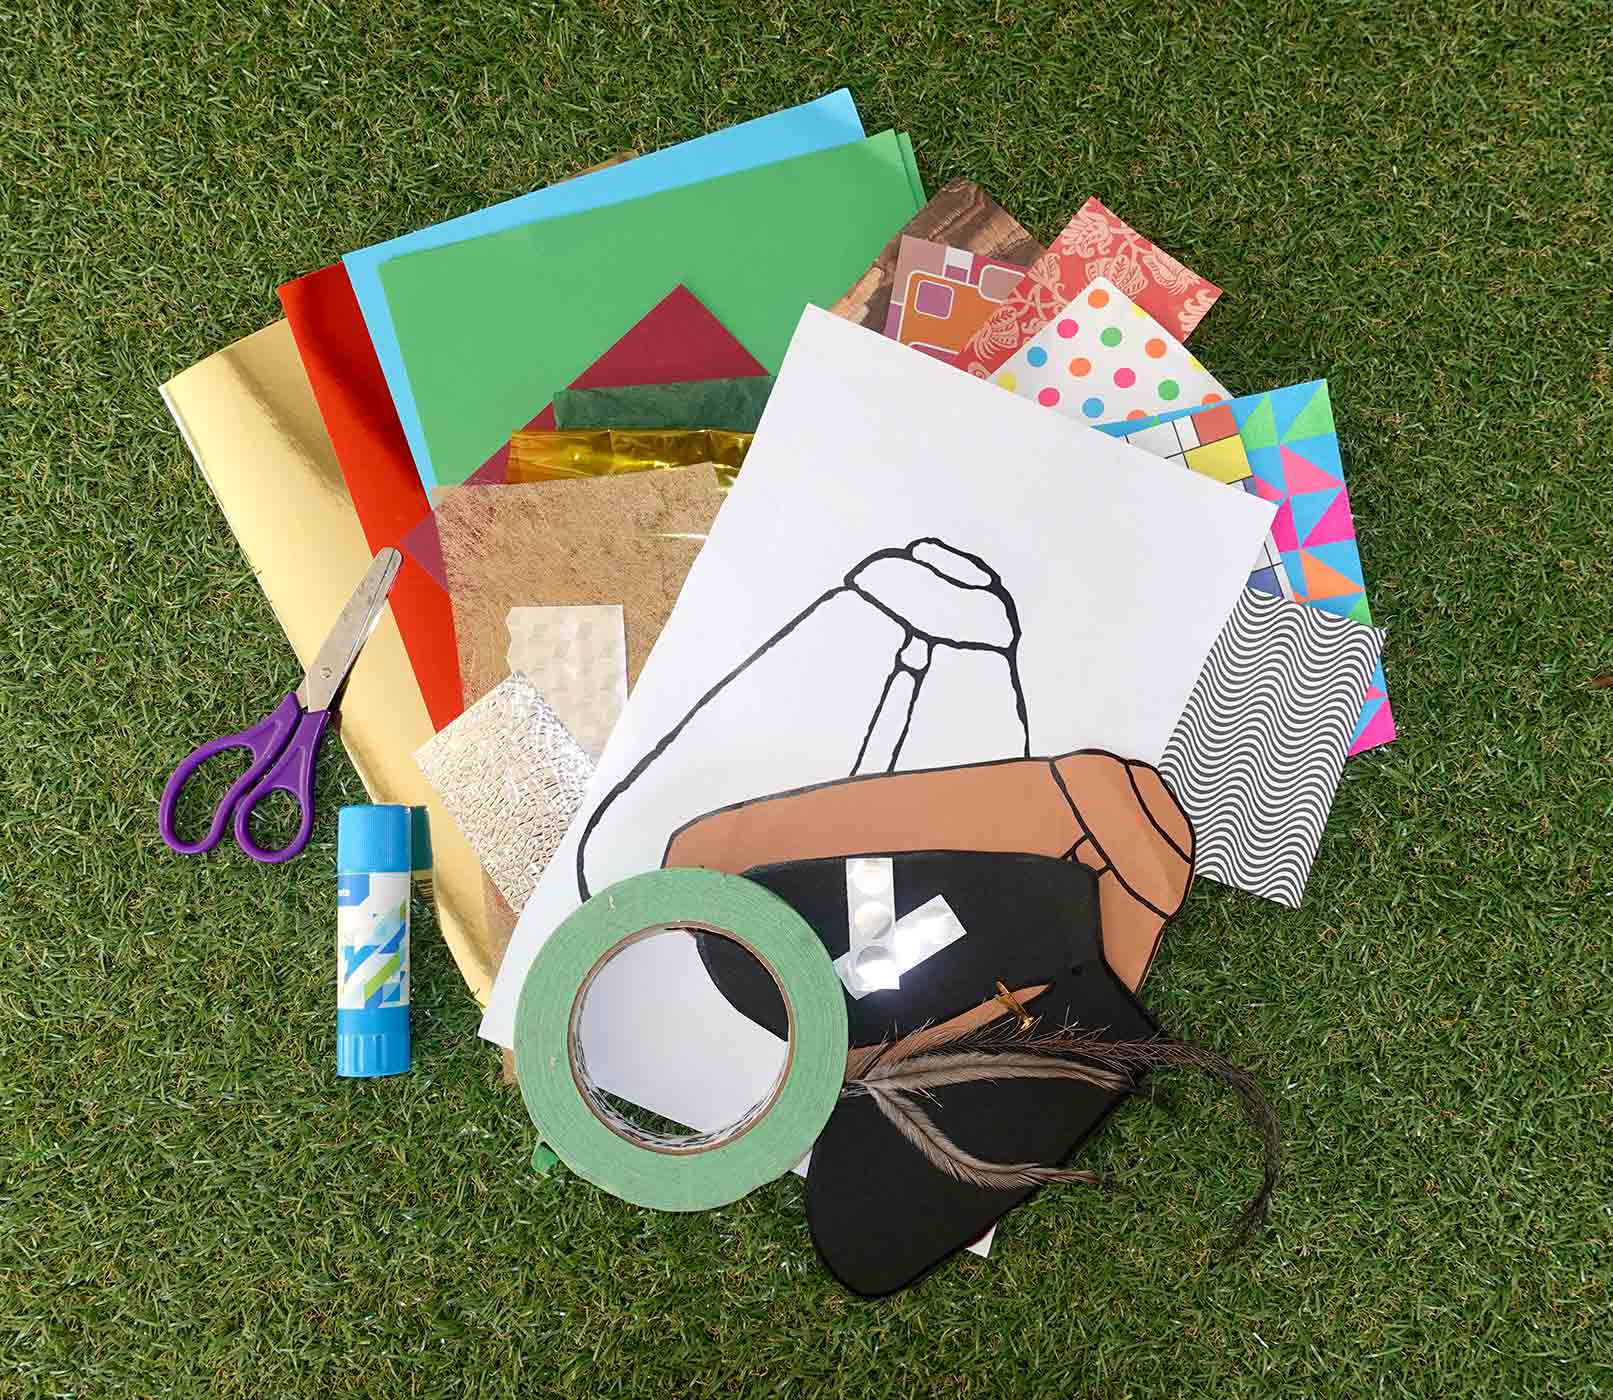
What you need:
- moth template printed on 2 coloured sheets of A4 paper
- decorative or coloured tape
- foil or shiny paper
- scissors
- glue
- crayons, textas or pencils
- feathers, pipe cleaners or ribbons for antennae
- split pin or stapler to attach moth wings.
- Download Bogong moth template61.2 kb pdf [ PDF | 61.2 kb ]
Step 1
- Gather your materials.
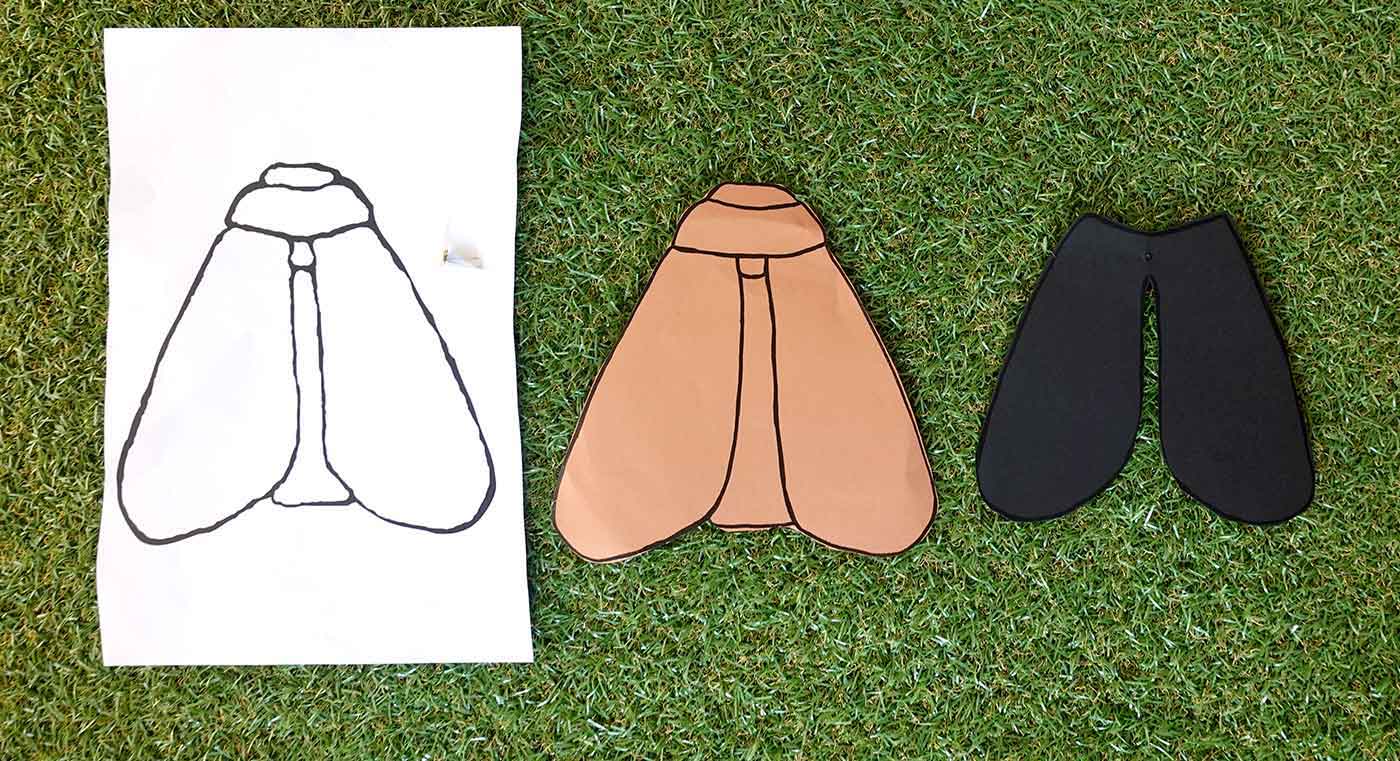
- Print and cut out the moth template. One page is the moth body and the other is the wings, which we attach later, to give movement.
Tip: if you don't have coloured paper, you can use white paper. If you don't have a printer, ask an adult to help you draw the outline of the moth and its wings.
Step 2
- Decorate the printed moth. This is where you can have fun and use your imagination. Moths are very beautiful and come in all sorts of patterns and colours. Cut out coloured paper and glue the pieces to your moth.
Step 3
Keep decorating your moth's wings and body. Here's some more ideas:
- add pieces of foil, metallic cardboard or paper
- create patterns by adding decorative or coloured tape
- draw your own designs using crayons, pencils or textas
- add silver dots for eyes to the body
- add feathers, ribbon or strips of paper for antennae.
Step 4
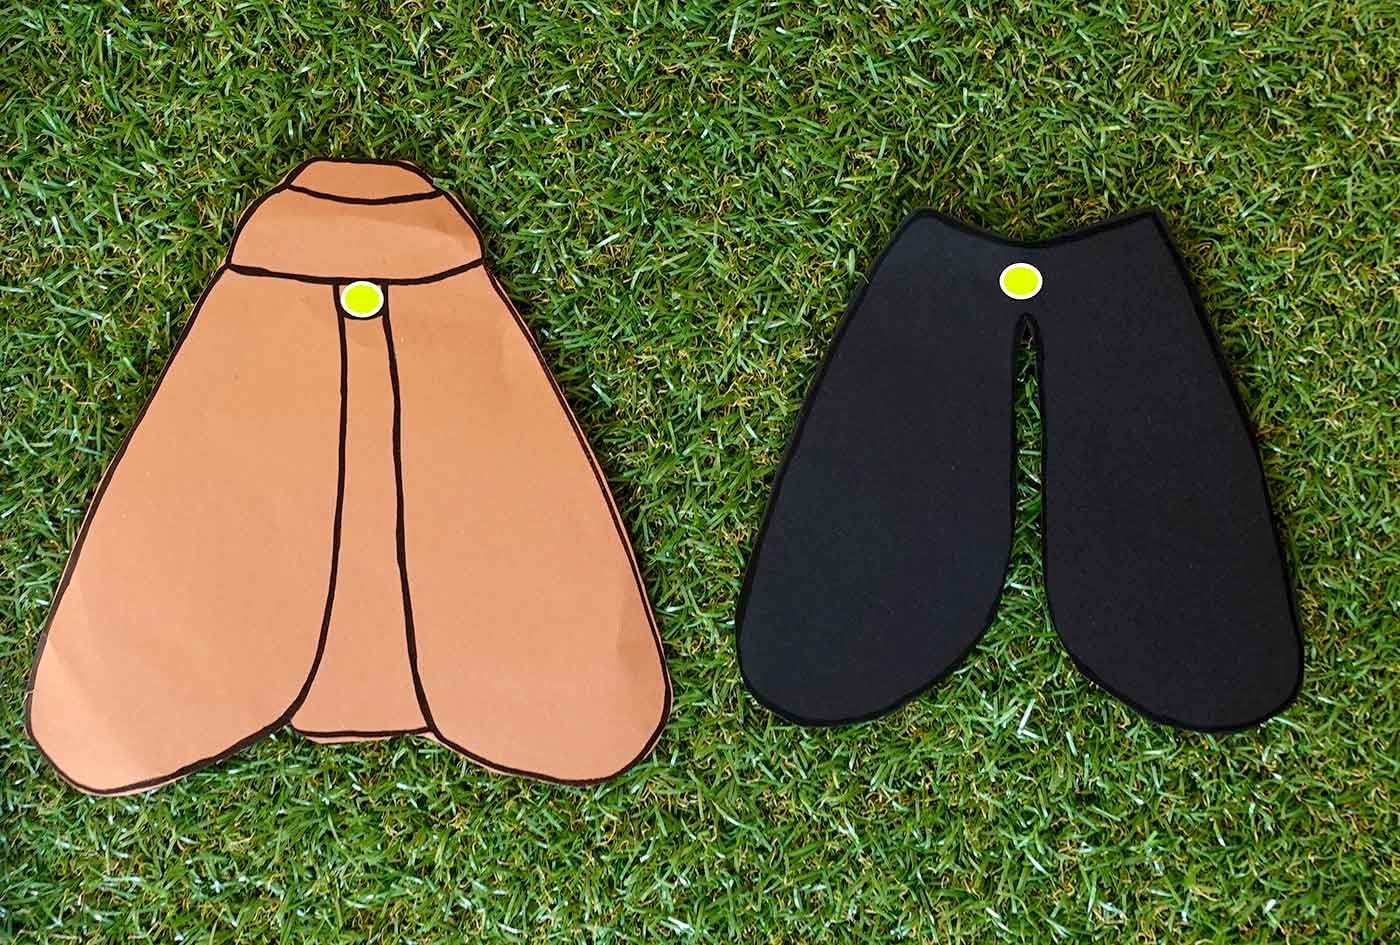
- Create a hole in your moth body and wings, in the area shown by the yellow dots in the photo above.
Step 5
- Use a split pin or paper fastener to join the wings to the moth body. You can use a stapler if you don't have pins.
Step 6
- Make antennae. Use tape to attach feathers, pipe cleaners or ribbon to the back of the moth's head, to represent the antennae. You might find feathers in your back yard.
Share your creation
We run regular toddler programs at the Museum, including the moth activity.
Share your creation with us by emailing a photo to: programs@nma.gov.au